零基础部署DeepSeek全攻略(附避坑指南)
近期,国产AI大模型DeepSeek因强大的处理能力和实用功能快速走红,用户量持续攀升。但服务器频繁遭遇网络攻击和流量过载问题,导致服务响应变慢。为保障使用体验,将DeepSeek安装到本地电脑运行成为新趋势——既能避免网络拥堵,又能提升响应速度,同时确保数据安全。
将Deepseek部署在本地电脑也十分简单。
1、下载安装Ollama
1)部署安装Deepseek要用到Ollama,它支持Llama 3.3、DeepSeek-R1、Phi-4、Mistral、Gemma 2等多种模型。
2)Ollama官方下载地址:https://ollama.com/
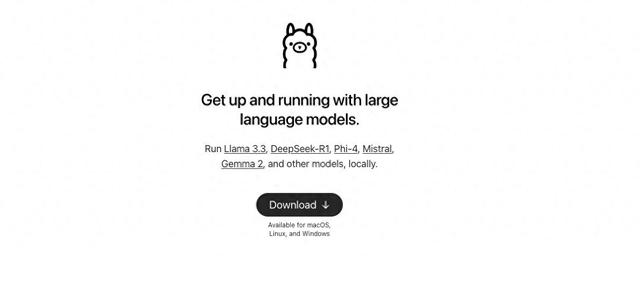
3)下载安装Ollama,支持macOS、Linux、Windows系统,笔者使用的是macOS。
2、安装Deepseek-R1
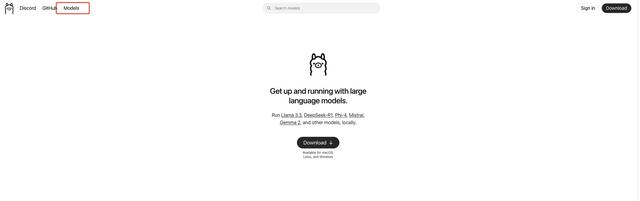
1)进入Ollama官网,在左上角找到“models”,点击进入
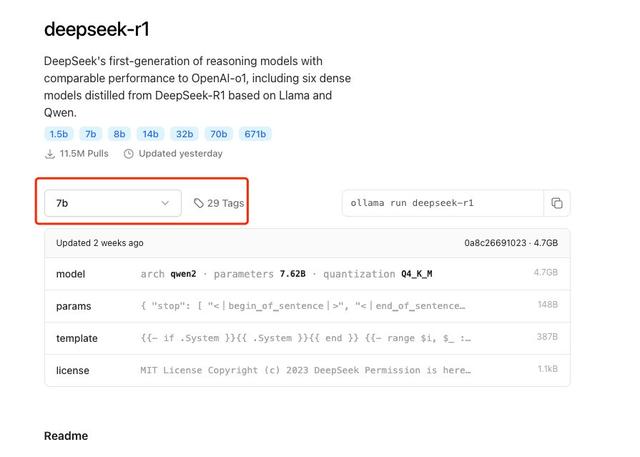
2)选择“deepseek-R1”大模型,并选择参数,注意:参数越大,所需的内存越大、显卡配置越高。
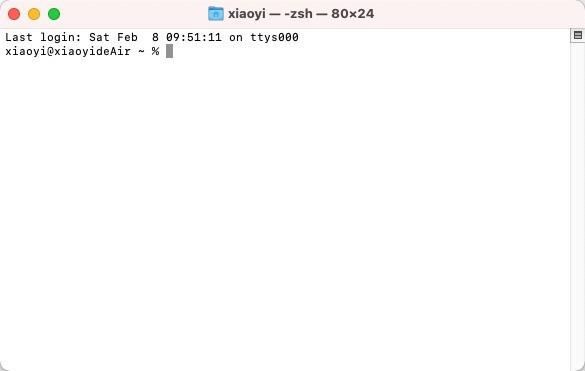
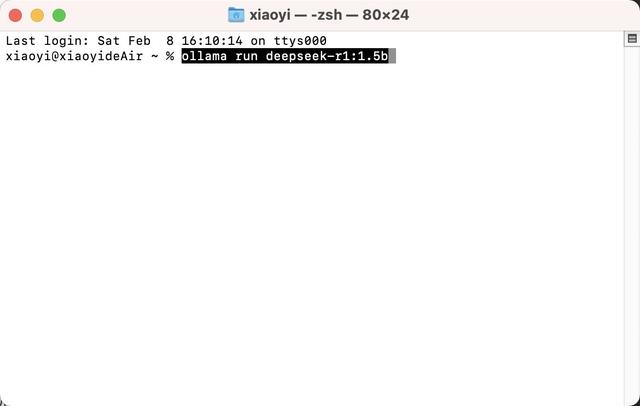
3)在MacBook启动台搜索终端,并点击进入;Windows系统找到终端管理员
4)复制下边代码
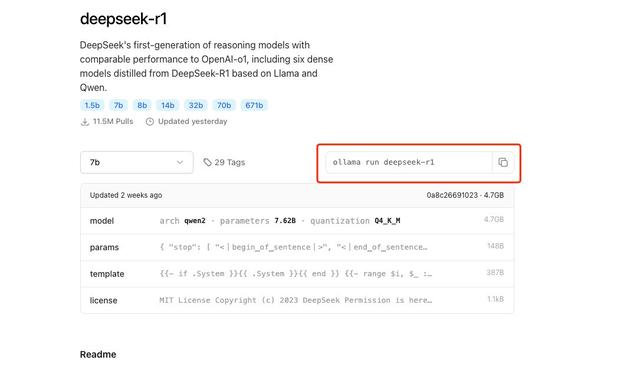
5)粘贴到终端运行框,然后敲回车键盘。等待安装完成。
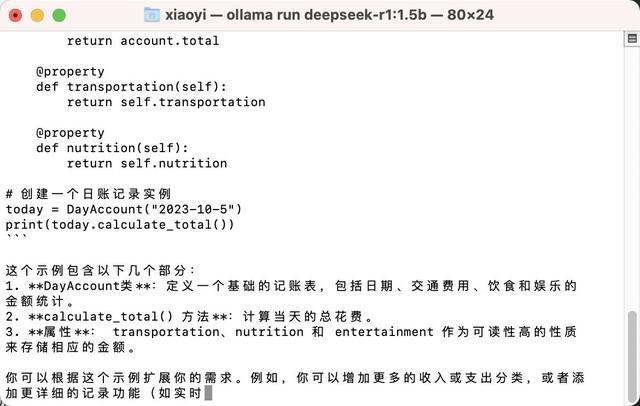
6)部署完成,输入内容可以对话。
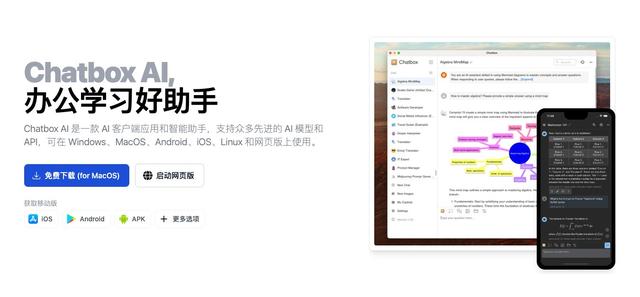
3、搭建Chatbox
如果代码模式使用不习惯,那可以下载安装Chatbox前端,配置完成后,可以从Chatbox发起对话。
1)下载安装Chatbox
Chatbox官网:chatboxai.app/zh
2)下载完成后,点击设置,选择Ollama API

3)选择已经安装好的deepseek-r1大模型,保存即可
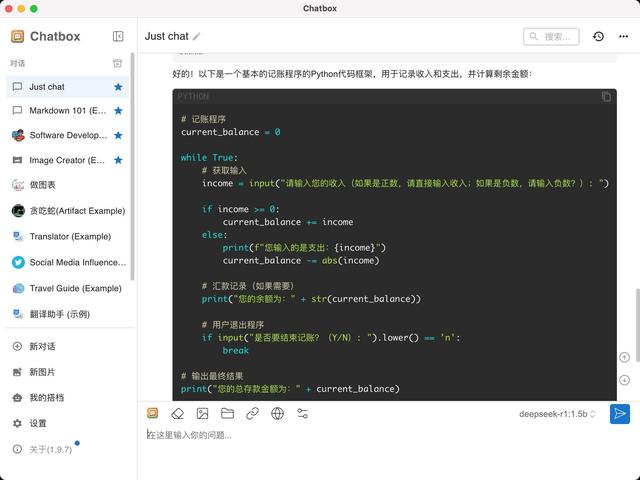
4)接下来就可以使用啦。
以上是简单的部署方法,有需要的可以本地部署一下。
评论已关闭