qemu-img is a tool apart of the qemu-utils package that lets you convert a wide variety of disk images from one hypervisor to another. However Citrix Xenserver image format XVA is not an option for qemu-img, so lets add it!
Here’s how to convert an XVA image to KVM.
Extract the XVA image.
A XVA file is a carefully created tarball we will need to extract.
|
1
2
|
mkdir xva_uncompressed
tar -xf virtual_machine.xva -C xva_uncompressed
|
Create a raw image
Use xva-img to create a raw disk image from the extracted xva data.
First we will build xva-img:
|
1
2
3
4
5
|
git clone https:
cd xva-img/
cmake .
sudo make install
cd ../
|
Create raw disk image: Note the Ref\:1 may be different.
|
1
|
xva-img -p disk-export xva_uncompressed/Ref\:1/ virtual_machine.raw
|
Convert RAW image to KVM using qemu-img
Install qemu-utils
|
1
2
3
4
|
#Debian/Ubuntu
sudo apt-get install qemu-utils
#RHEL/CentOS/Fedora
sudo yum install qemu-kvm qemu-img
|
Covert raw image to qcow2
|
1
|
qemu-img convert -f raw -O qcow2 virtual_machine.raw virtual_machine.qcow2
|
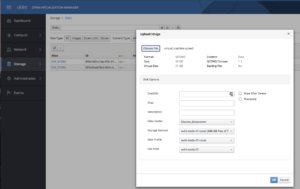
Import qcow2 disk image to KVM
Import the qcow2 image to your KVM environment, then attach the image to a VM. In my environment, I use oVirt:

